How to Repot a Plant
Repotting is optional until it isn't. Here's how to do it right.
When to Repot
Signs Your Plant Needs Repotting
| Sign | What It Means |
|---|---|
| Roots coming out of drainage holes | Root-bound, needs more space |
| Water runs through immediately | Soil has broken down, no retention |
| Plant is top-heavy, tips over | Too much plant for the pot |
| Growth has stalled in growing season | Roots have no room to expand |
| Soil dries out very quickly | Soil has decomposed |
When NOT to Repot
- Dormant season (late fall-winter) — wait for spring
- Plant is stressed — postpone until it recovers
- Recently repotted — give it time to adjust
- Plant is blooming — wait until flowering is done
What You'll Need
- New pot (1-2 inches larger in diameter)
- Well-draining potting mix
- Watering can
- Trowel or scoop
- Newspaper or tarp (for mess)
- Scissors (optional, for trimming roots)
Choosing the Right Pot
Size Matters
The rule: Only go up 1-2 inches in diameter.
| Current Pot Size | Next Pot Size |
|---|---|
| 4 inches | 5-6 inches |
| 6 inches | 7-8 inches |
| 8 inches | 9-10 inches |
| 10 inches | 11-12 inches |
Why not bigger? Too much soil retains too much water. Roots sitting in wet soil = rot.
Drainage Is Non-Negotiable
Your pot MUST have drainage holes.
| Good | Bad |
|---|---|
| Nursery pots (plastic with holes) | Decorative pots without holes |
| Terracotta with holes | Ceramic cache pots (no holes) |
| Grow pots that fit inside cache | Glass containers (no drainage) |
The solution: Use a nursery pot inside a decorative cache pot. Remove from cache to water.
🪴 Upgrade Their Home: Quality Pots & Planters
Drainage holes aren't optional. Give your plants the home they deserve:
*As an Amazon Associate, we earn from qualifying purchases.
Pot Material Comparison
| Material | Pros | Cons |
|---|---|---|
| Plastic | Light, cheap, retains moisture | Can degrade in sun |
| Terracotta | Porous, prevents overwatering | Dries out faster, heavy |
| Ceramic (glazed) | Pretty, retains moisture | Heavy, expensive |
| Fabric | Air pruning roots | Dries out fast, ugly |
Choosing the Right Soil
Basic Potting Mix Formula
Most houseplants want:
- 1 part peat moss or coco coir (moisture retention)
- 1 part perlite or pumice (drainage)
- 1 part potting soil (nutrients)
Soil for Specific Plants
| Plant Type | Soil Mix |
|---|---|
| Most tropicals | Standard potting mix + perlite |
| Succulents/Cacti | 50% cactus mix + 50% perlite |
| Orchids | Orchid bark + charcoal + sphagnum moss |
| Ferns | Peat moss + perlite + compost |
| Aroids (Monstera, Pothos) | Aroid mix: bark + perlite + coco coir |
🌱 Set Your Plants Up for Success
Great plants start with great soil. Here are our go-to mixes and amendments:
*As an Amazon Associate, we earn from qualifying purchases.
Step-by-Step Repotting Process
Step 1: Water Beforehand
Water your plant 1-2 days before repotting.
Wet soil holds together better. Dry soil falls apart and damages roots.
Step 2: Prepare Your Workspace
- Lay down newspaper, tarp, or use a large bowl
- Have your new pot ready with drainage holes
- Pre-moisten the new soil (optional but helps)
- Have water ready
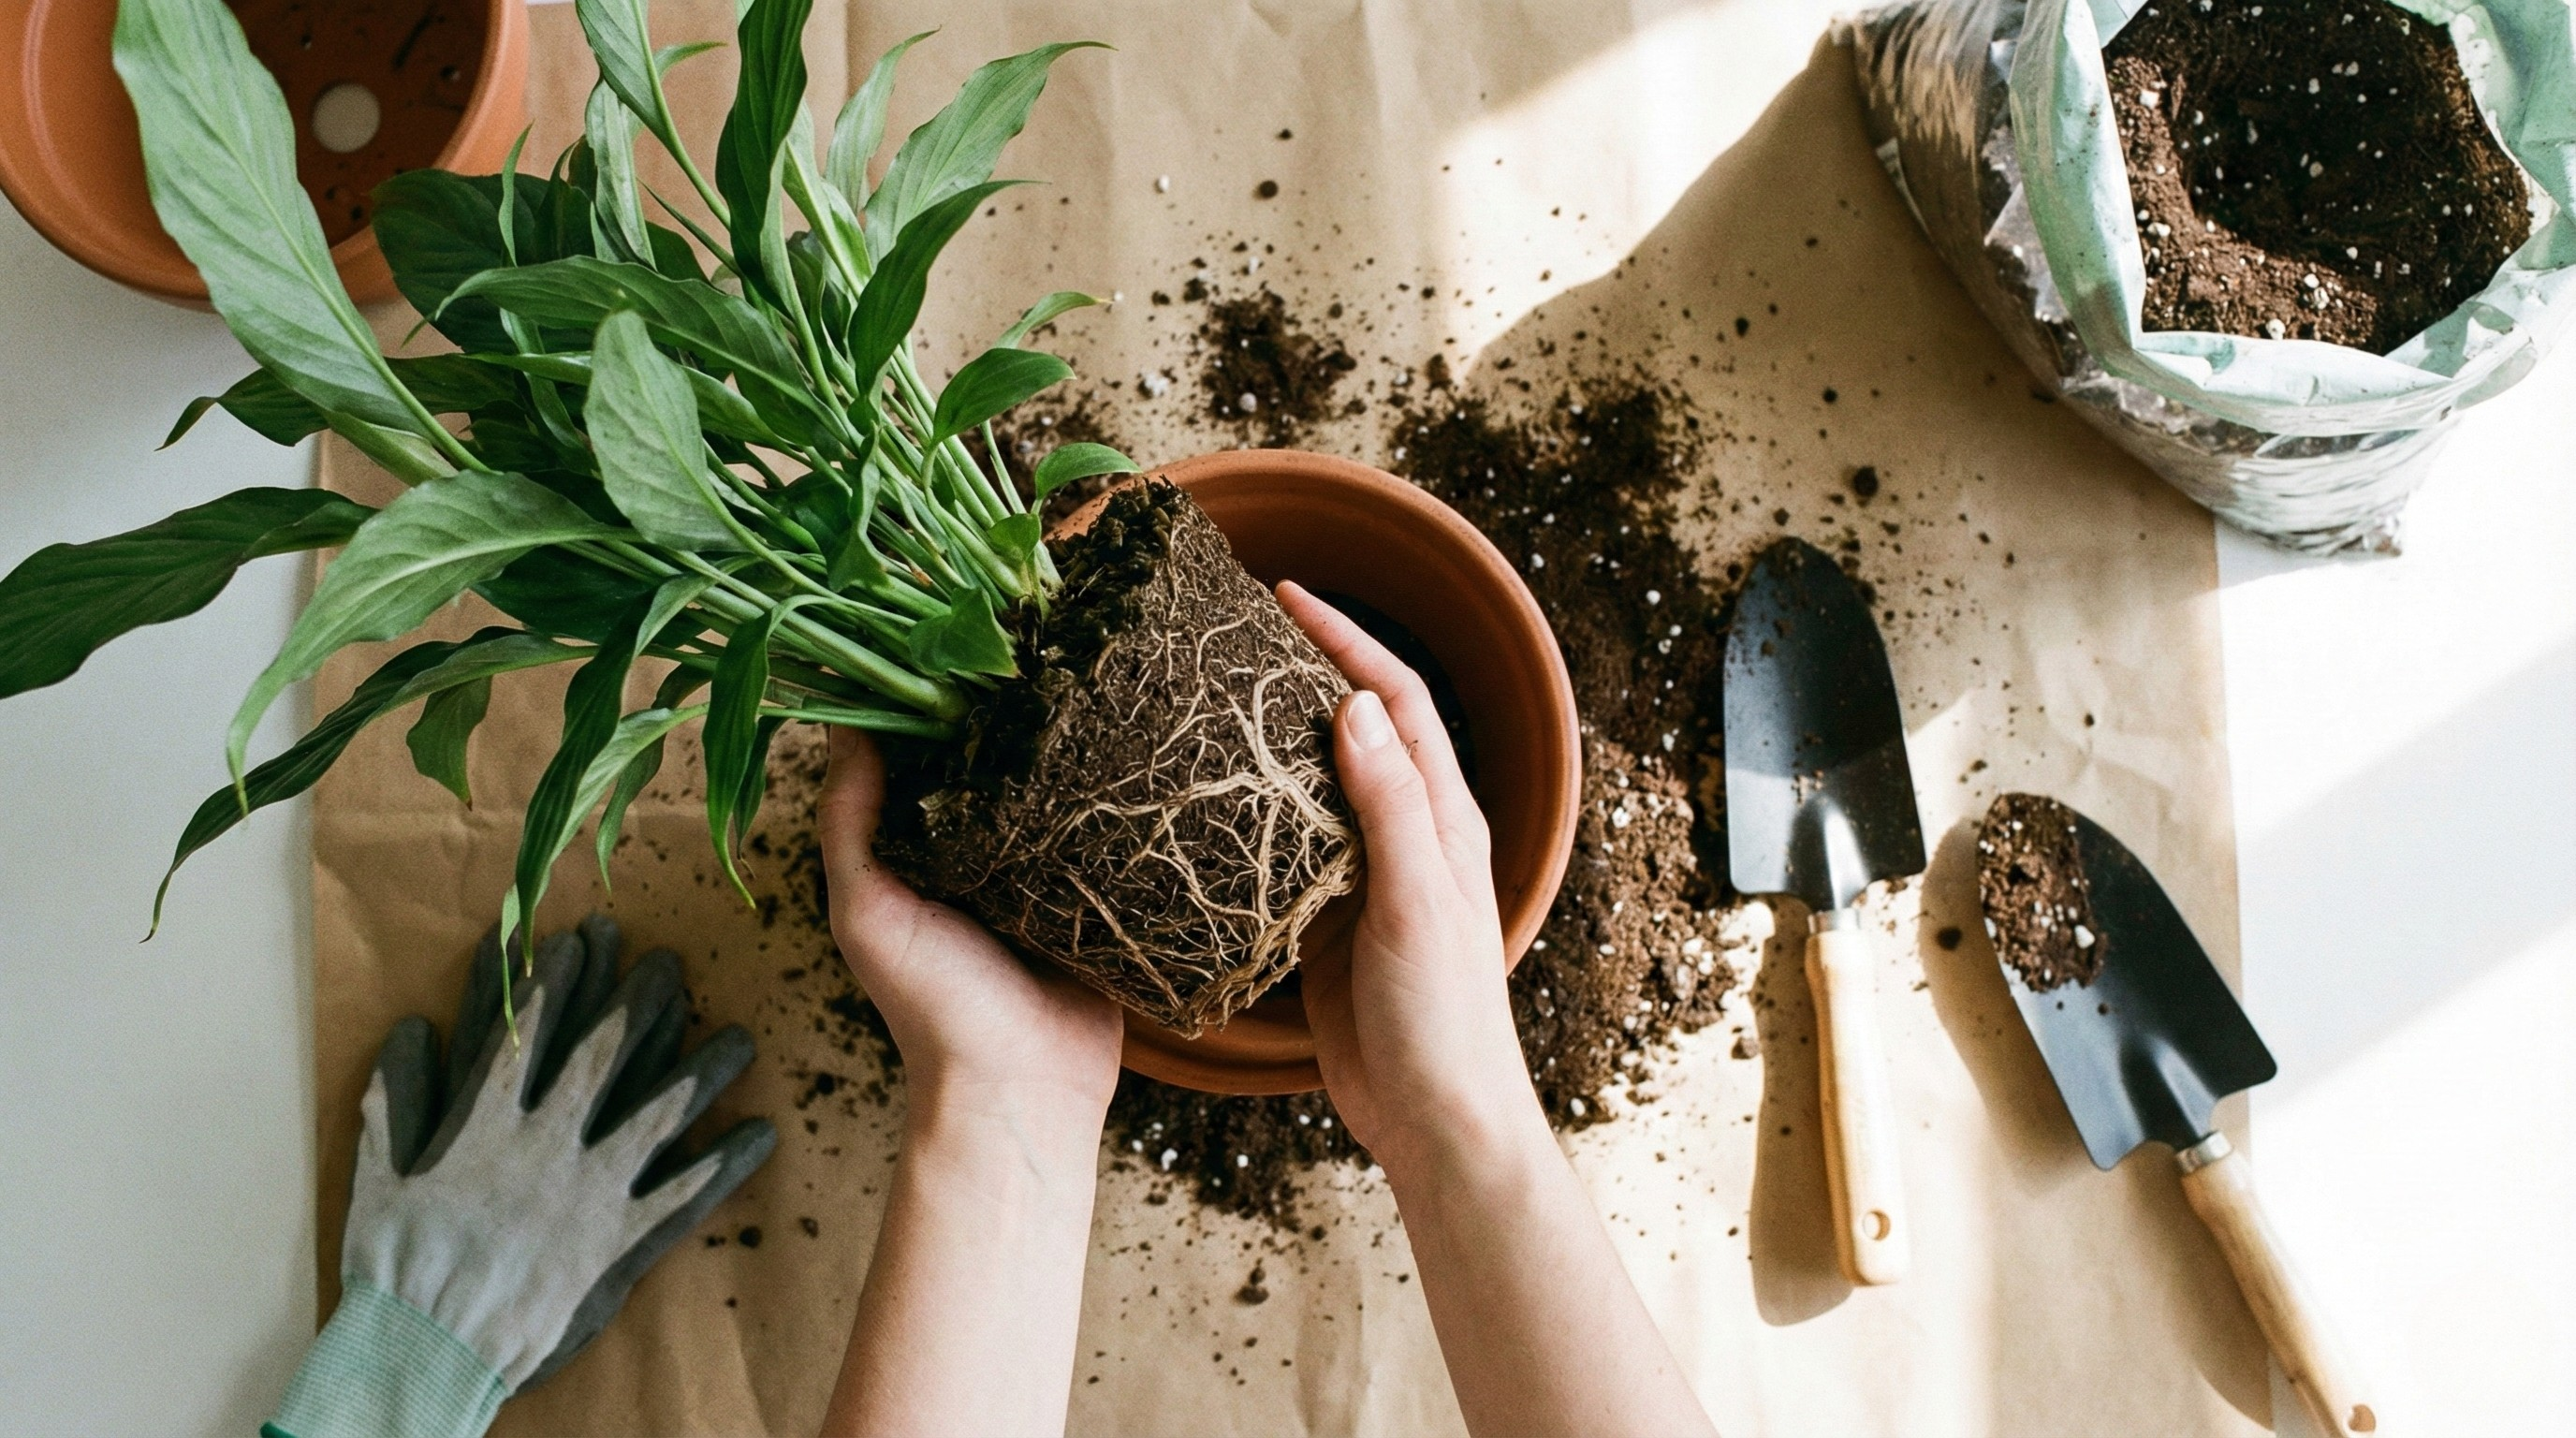
Step 3: Remove the Plant
- Turn the pot on its side
- Support the plant stem with one hand
- Gently squeeze or tap the sides of the pot
- Slide the plant out — don't pull by the stem
If the plant won't come out:
- Let it dry out more (soil too wet)
- Run a knife around the edge
- Slice the plastic pot if needed (nursery pots are disposable)
Step 4: Examine the Roots
Healthy roots:
- White or tan color
- Firm and slightly crispy
- Growing throughout the soil
Problem roots:
- Black or mushy (root rot — trim off)
- Circling the edge (root bound — gently unwind)
- Smelly (rot — trim and repot in fresh soil)
Step 5: Loosen the Roots
Gently tease apart the outer roots:
- Don't rip or tear
- Loosen the root ball by about 25-50%
- If roots are tightly circling, gently unwind them
- This encourages roots to grow OUT into new soil
Root trimming: Only trim dead, rotting, or excessively long roots. Don't remove more than 20-25% of the root mass.
Step 6: Add Soil to the New Pot
- Add a layer of fresh soil to the bottom
- Create a small mound in the center
- The plant's root ball should sit at the same depth as before
- Leave 1/2 inch of space at the top for watering
Plant depth: The soil line should be the same as it was in the old pot. Don't bury the stem.
Step 7: Fill Around the Roots
- Add soil around the root ball
- Gently firm the soil with your fingers
- Don't pack it too tightly — roots need air
- Leave space at the top (1/2 inch for watering)
Step 8: Water Thoroughly
- Water until it flows from drainage holes
- This helps settle the soil
- Remove water from saucer after 15 minutes
Step 9: Aftercare
For 2-4 weeks:
- No fertilizer (roots are adjusting)
- Water normally (don't overcompensate)
- Keep in same light conditions
- Don't stress the plant further
What to expect:
- Mild drooping is normal (transplant shock)
- New growth in 2-4 weeks means success
- If plant declines significantly, check for root rot
Troubleshooting Repotting Problems
| Problem | Cause | Solution |
|---|---|---|
| Plant wilts after repotting | Transplant shock | Keep conditions stable, don't overwater |
| Leaves turn yellow | Stress or overwatering | Check soil moisture, reduce water |
| No new growth | Root shock or too dark | Give time, ensure proper light |
| Soil sinks after watering | Too much peat | Add more soil, top dress |
| Plant dies quickly | Root rot or severe damage | Check roots, repot in fresh dry soil |
Common Repotting Mistakes
Mistake 1: Going Too Big
Problem: Too much soil = water retention = root rot Fix: Only go up 1-2 inches
Mistake 2: Burying the Stem
Problem: Stem tissue isn't designed for soil = rot Fix: Keep soil at the same level as before
Mistake 3: Repoting at the Wrong Time
Problem: Dormant plants can't recover from shock Fix: Wait for active growing season (spring-summer)
Mistake 4: Fertilizing Immediately
Problem: Burned roots can't handle fertilizer Fix: Wait 2-4 weeks before fertilizing
Mistake 5: Using Poor Drainage Pots
Problem: Water pools at bottom = root rot Fix: Always use pots with drainage holes
The Bottom Line
- Repot when roots are circling or growth has stalled
- Only go up 1-2 inches in pot size
- Don't bury the stem
- Use pots with drainage holes
- Don't fertilize for 2-4 weeks after
- Handle roots gently
Repotting isn't hard. The plant will tell you when it needs it. Listen to the roots.
Need help diagnosing what's wrong after repotting? Check our Plant ER.