Which method gives you the best chance of growing new monsteras?
Quick Answer: Both methods work well, but **water propagation has a higher success rate for beginners** because you can monitor root development daily. Soil propagation has advantages too — no transition shock and faster establishment once roots form. Your choice depends on how hands-on you want to be.
Disclosure: Some links on this page are affiliate links. As an Amazon Associate, we earn from qualifying purchases at no extra cost to you.
The Success Rates
Based on community data and our own testing:
Method
Success Rate
Best For
Time to Roots
Water Propagation
85-95%
Beginners, visual learners
3-6 weeks
Soil Propagation
70-90%
Hands-off growers, warm climates
2-5 weeks
Key Factors Affecting Success:
Node presence: MUST have a node (roots grow from nodes, not stems)
Temperature: Warmth (65-85°F) speeds everything up
Light: Bright indirect light promotes rooting
Cutting health: Use healthy stems, not diseased or stressed ones
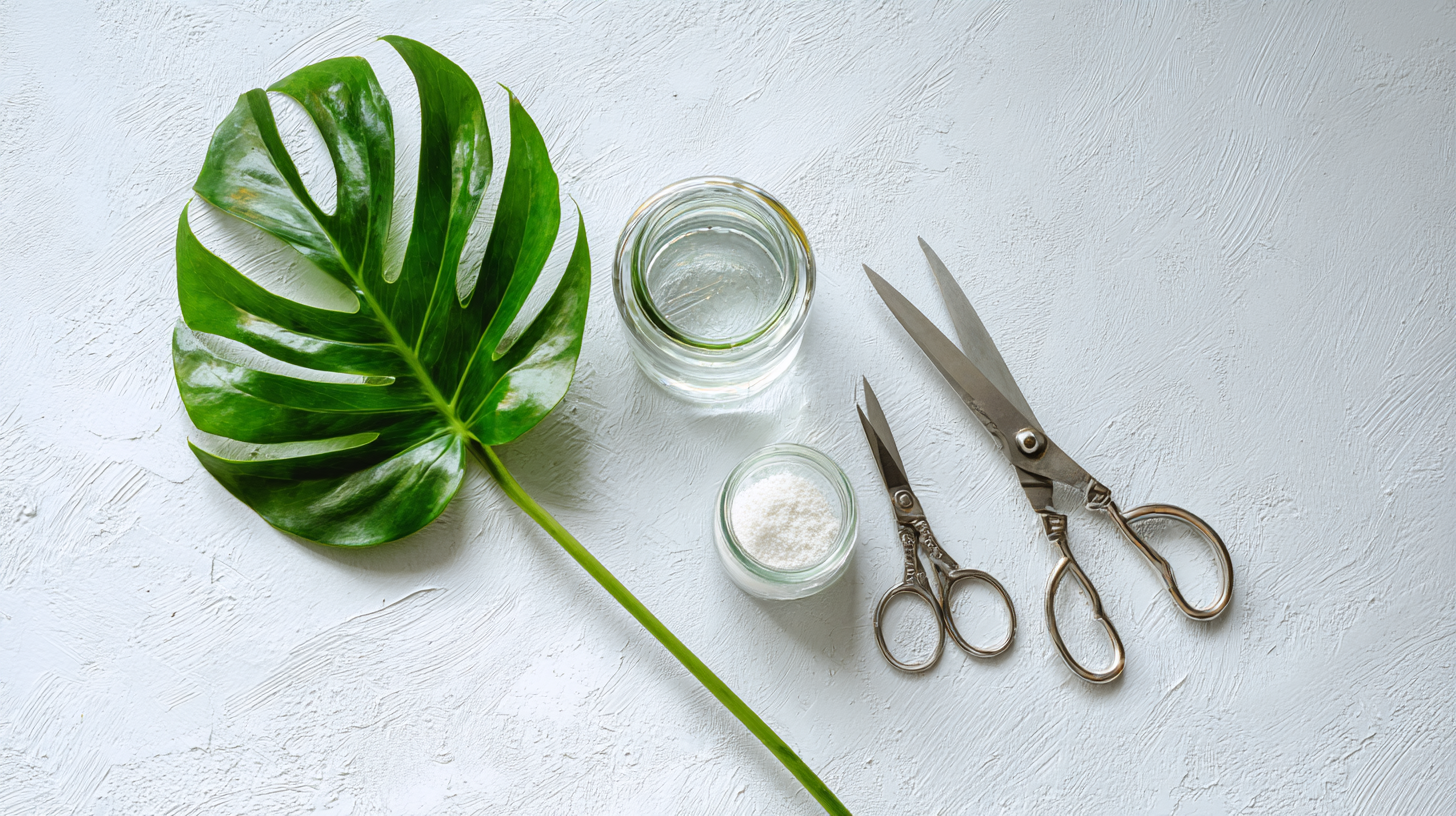
A clean cut below the node is step one—everything else follows from getting this right.
Water Propagation
Pros
Visible progress: Watch roots grow daily
Easier to monitor: Spot rot or issues immediately
Fun factor: Rooting stations look great on shelves
Higher success rate: Harder to overwater in water
Cons
Transition shock: Moving from water to soil can stress the plant
Algae growth: Sunlight + water = algae (change water weekly)
Fragile roots: Water roots are different from soil roots and break easily during transplant
Step-by-Step: Water Propagation
Select a healthy stem. Look for a stem with 1-2 leaves and at least one visible node (bump with aerial root nub).
Make the cut. Use clean scissors. Cut 1/4 inch below the node at a 45-degree angle.
Prepare the cutting. Remove any lower leaves that would sit in water. Leave 1-2 leaves on top.
Place in water. Submerge the node entirely. Leaves must stay above water.
Find the right spot. Bright, indirect light. Avoid direct sun (heats the water and encourages algae).
Change water weekly. Fresh water prevents bacteria and rot.
Wait 3-6 weeks. Roots will appear from the node.
Transfer to soil. Wait until roots are 2-3 inches long. Plant in well-draining soil and keep moist for 2 weeks while it adjusts.
Best time to propagate: Spring and summer. Monsteras root faster in warm weather with longer days.
Soil Propagation
Pros
No transplant shock: Roots grow directly in their permanent home
Faster establishment: Roots adapt immediately to soil
Less maintenance: No weekly water changes
Better for busy people: Set it and forget it (mostly)
Cons
Invisible progress: You can't see roots developing
Risk of overwatering: Soil stays wet longer, increasing rot risk
Harder to diagnose problems: Rot spreads before you see it
Lower success rate for beginners: Requires more careful watering
Step-by-Step: Soil Propagation
Select a healthy stem. Same criteria as water propagation — must have a node.
Make the cut. 1/4 inch below the node, 45-degree angle.
(Optional) Use rooting hormone. Dip the cut end in powdered or gel rooting hormone to speed things up.
Let it callus (optional). Let the cut end air dry for 1-2 hours. This seals the wound and reduces rot risk.
Prepare your pot. Use a small pot (4-6 inches) with drainage holes. Fill with well-draining soil (monstera mix or 50% soil + 50% perlite/bark).
Plant the cutting. Bury the node just below the soil surface. Leave leaves above soil.
Water thoroughly. Moisten the soil evenly.
Create humidity. Cover with a plastic bag (loosely) or use a humidity dome. This keeps moisture in while roots develop.
Place in bright indirect light. No direct sun.
Keep soil moist (not soggy). Water when the top inch is dry.
Wait 2-5 weeks. Check for resistance when gently tugging on the stem — resistance means roots!
Remove humidity cover. Gradually acclimate to normal room humidity over a few days.
Don't let soil stay wet: If soil stays soggy for more than a week, roots will rot. Use a chunky mix and a small pot to prevent this.
Head-to-Head Comparison
Factor
Water
Soil
Success Rate
Higher (85-95%)
Moderate (70-90%)
Time to Roots
3-6 weeks
2-5 weeks
Visibility
Watch roots grow
Invisible until tug test
Maintenance
Weekly water changes
Regular watering checks
Transition Shock
High risk
No risk
Mess
Clean
Can be dirty
Best For
Beginners, visual learners
Hands-off growers
Which Method Should You Choose?
Choose Water If:
You're a beginner (it's easier to monitor)
You want to watch roots grow (it's satisfying!)
You have a nice spot for a propagation jar
You're patient with the transition period
Choose Soil If:
You want to skip the water-to-soil transition
You tend to forget about maintenance tasks
You live in a warm, humid climate
You want roots to establish faster once they form
Hybrid approach: Start in water until roots are 1-2 inches, then transfer to soil. This combines visibility with faster establishment.
Common Mistakes (And How to Avoid Them)
Mistake: No Node
Problem: Cuttings without nodes cannot root. The cut end will just callus over and die.
Solution: Always include at least one node (the bumpy part with aerial roots).
Mistake: Overwatering Soil Cuttings
Problem: Wet soil causes rot before roots can develop.
Solution: Use a small pot with drainage. Use a chunky, fast-draining mix. Only water when top inch is dry.
Mistake: Changing Water Too Infrequently
Problem: Stagnant water grows bacteria and smelly rot.
Solution: Change water once a week. If it gets cloudy or smelly, change immediately.
Mistake: Transplanting Too Early
Problem: Moving water roots to soil before they're long enough causes shock.
Solution: Wait until water roots are 2-3 inches long.
Mistake: Direct Sun
Problem: Sun heats water (cooking roots) or dries out soil cuttings too fast.
Solution: Bright, indirect light only. No direct sun.